Gwen Posted March 3, 2015 Author Share Posted March 3, 2015 I've been wanting to build an arcade cabinet, but due to time, laziness, and space issues I never got around to making one. Recently i got a bug up my butt, and decided i was going to do it. I searched around and came across this.I decided that will work great… i can use it as a table and for an arcade system.I went to Ikea and bought this table.It was $39 on sale for$33\. I figured if i screw this up, im not out a lot of money.This is an easy table to hack… it is actually hollow, and has a carboard honeycomb inside to keep it sturdy.I am not a skilled craftsman, but I am pretty handy. I think I could do some pretty cool projects if I actually had the correct tools and supplies.Anyways here's my first attempt at making an arcade table.Tools.All I've needed for this project is a large ruler... I use a level. A utility knife. A 29mm hole saw. A drill. A small ruler (I got a level T square thing, but either I'm too much of a ditz to figure out how to use it, or it is broken. It didnt help me make straight lines), and some clamps.Here is my level, utility knife, and clamps...>! 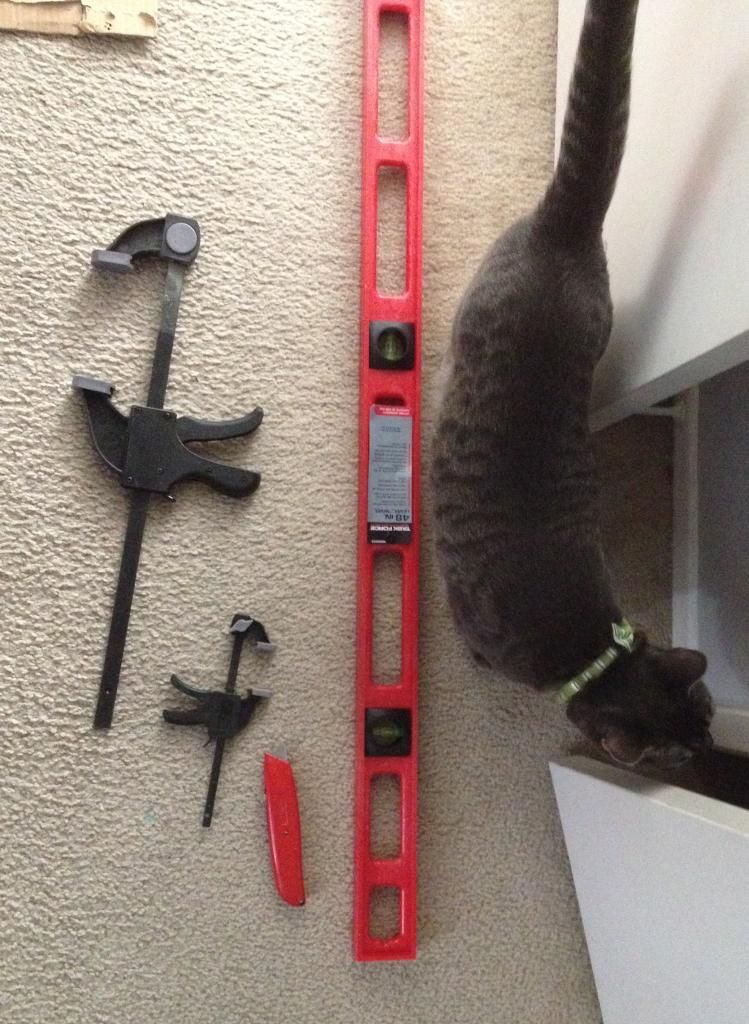My cat had to inspect EVERYTHING!Here is my hole saw>! 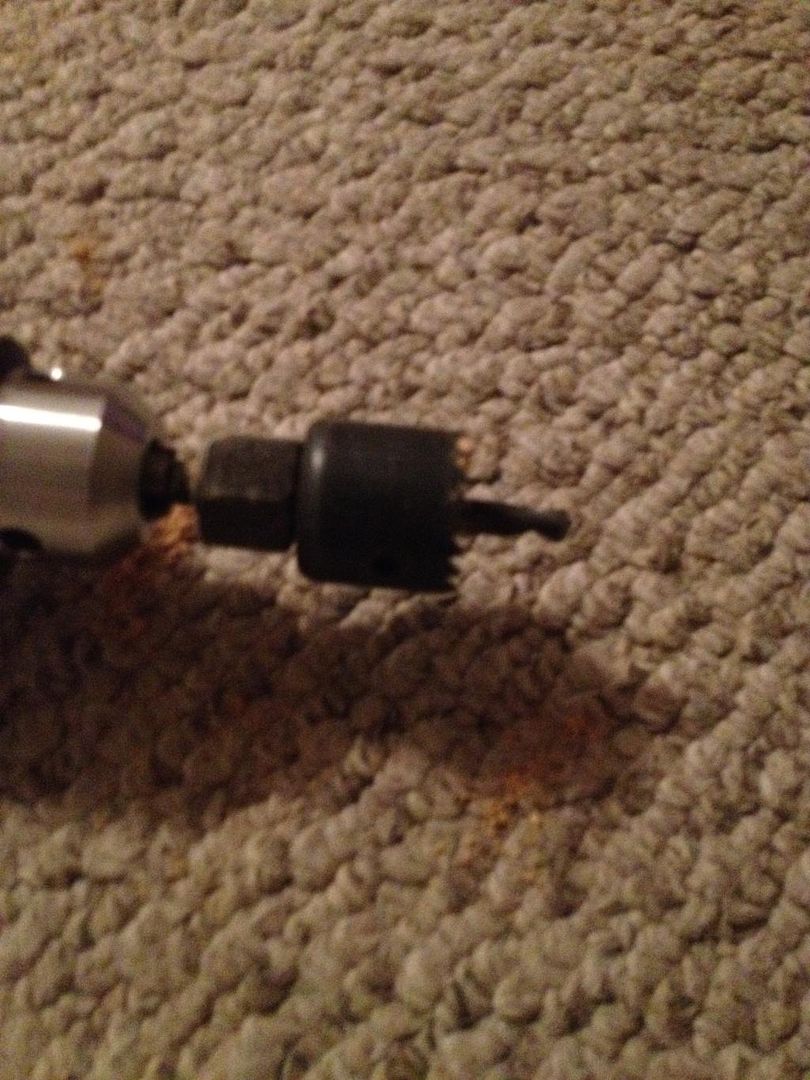first i found the middle of the table, and then the middle of my monitor. I subtracted half the length and width of my montor from the center of the table in all directions, and cut out the hole for the monitor.Here you can see the inside of the table. The top and bottom of the table is so thin you can use a utility knife to cut through it. At first i tried using my level to cut a straight line by running the knife along it a few times, but it eventually was easier to just plunge the knife into the tabe. If you have a steady hand and do small cuts you can drag the knife through the table. I wouldnt recomend doing that on the top though… the knife can easily slip or go off your line and then you are screwed. You can see the cardboard that supports the table. My monitor was just a little bit larger than the depth of the table so i had to cut a hole in the bottom so it would sit flush.>! 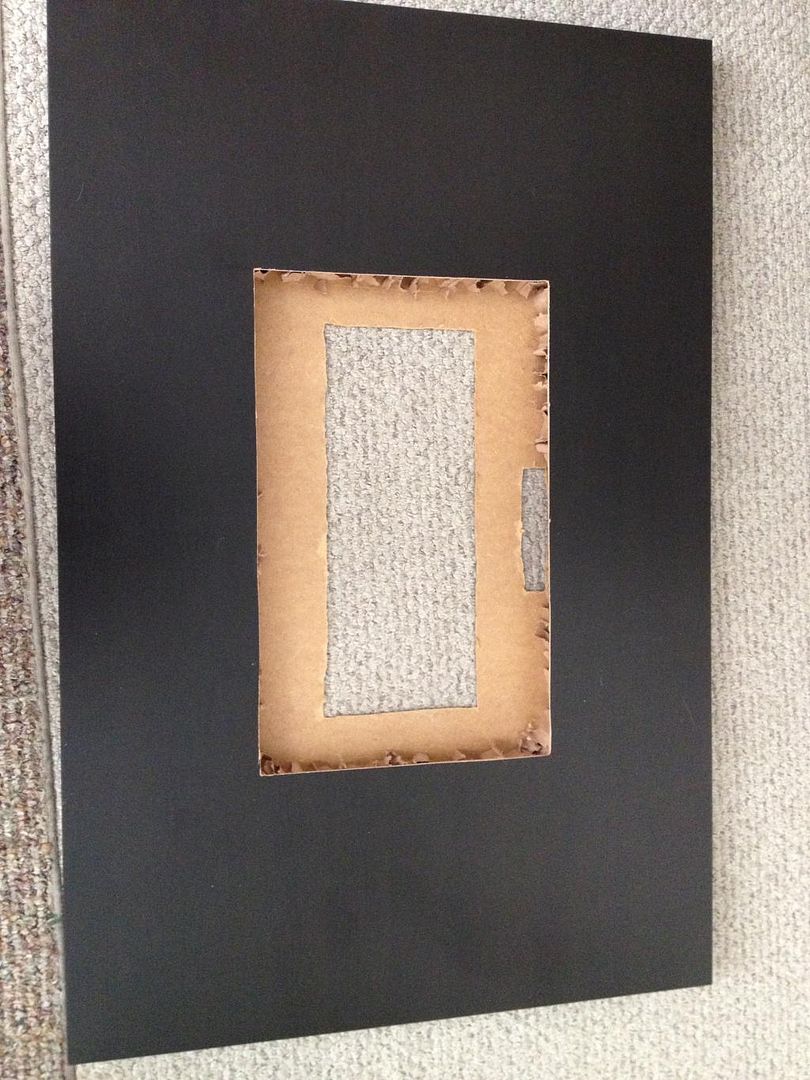I went to this site to get a layout of arcade joystics and buttons. I went with the japanese arcade version which has the buttons curve to your hand. Ultimately either my measuring skills are not good or thier plans are off a little.. but it is a great place to start.[http://www.slagcoin.com/joystick/layout.html](http://www.slagcoin.com/joystick/layout.html)Before i did any drilling or marking on my table I made a mock up on a piece of cardboard. This is how i found out my buttons were off slightly.>! 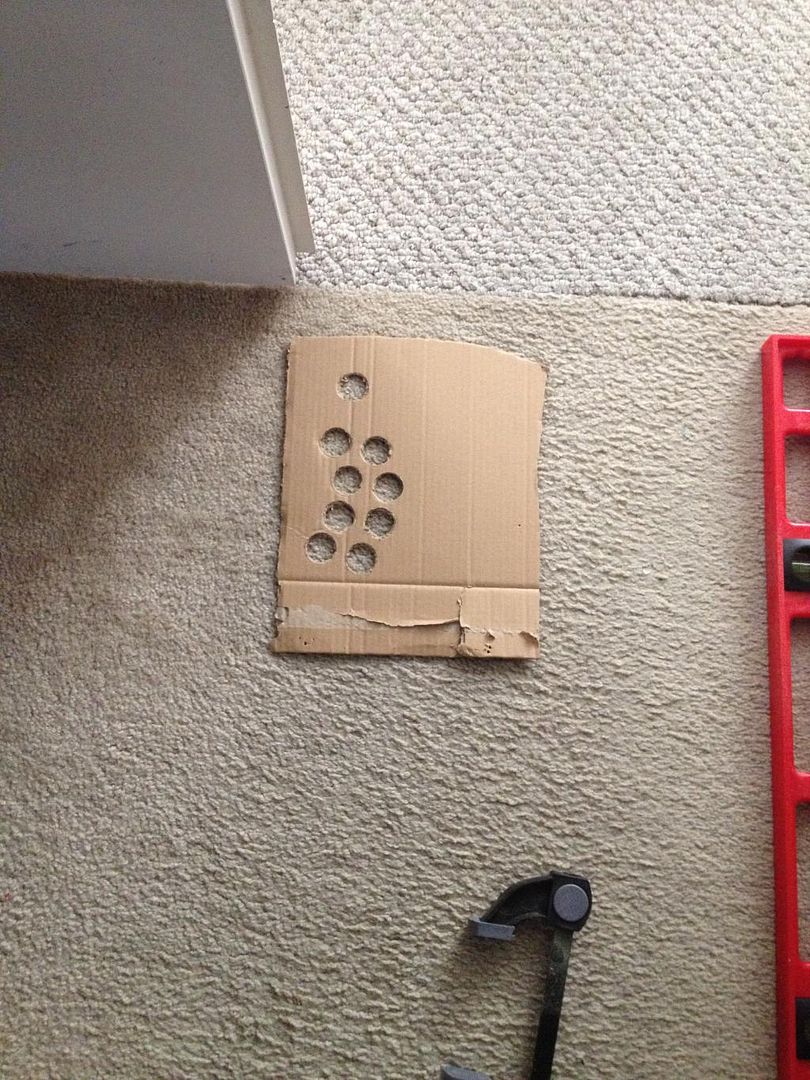On the back of the buttons is a nut that screws on to hold the button in place. This nut is has a rim slightly larger than the button so if you are off they nuts will over lap. it could be fine, but I just readjusted the buttons slightly when it came time to actually drill.A long time ago I made an arcade joystic. I had two joysticks, and a few buttons that i was able to use for this project. Unfortunately I need to buy some more buttons to have the second player actually work.Here is my initial joystick. It is definatly not pretty, but it came out well for scrounging material. I took apart an old keyboard, and soildered wires to the connections, and then mapped out the entire keyboard. This worked pretty well, but unfortunately if you press to many buttons at once you "ghost" the keys, since multiple keys use the same circuit. I didnt have the right size drill bit so I had to bore it out… that's why the holes are all chewed up. Once again my cat had to make sure everything was ok.>! 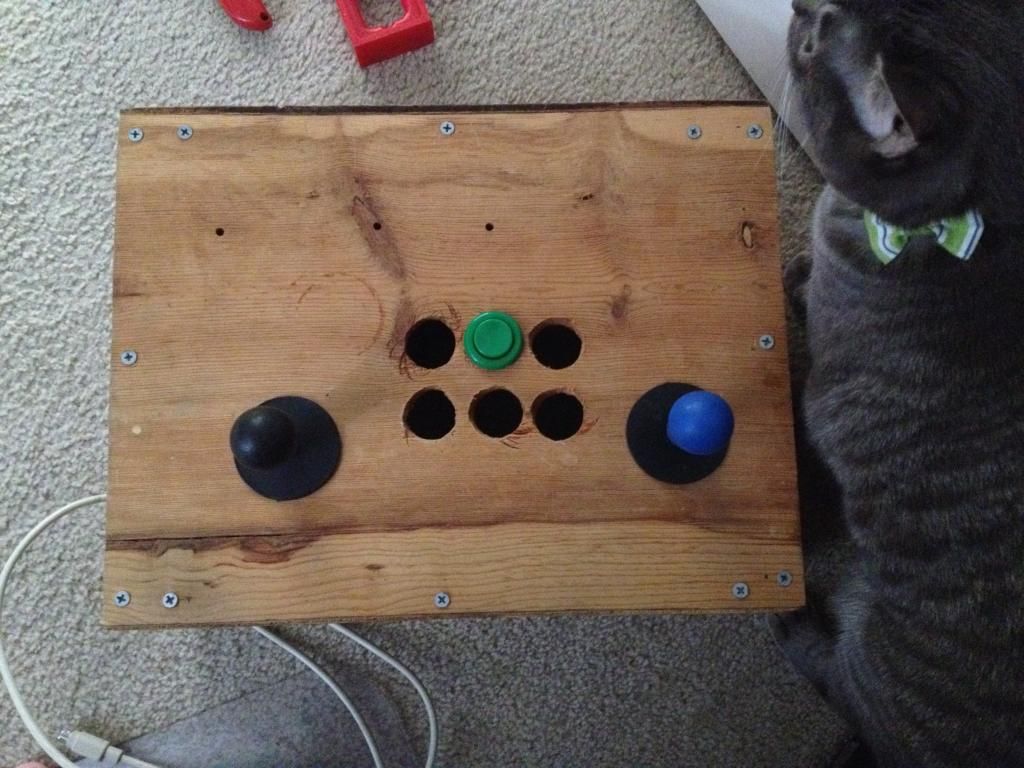Here is the back side with some wiring still intact. I used speaker wire since that was all i had. You can see my hacked keyboard module. The wire i used to attach to the keyboard was an IDE cable. For you youngins… that is what you used to use to connect your hard drive and cd drive to the motherboard.>! 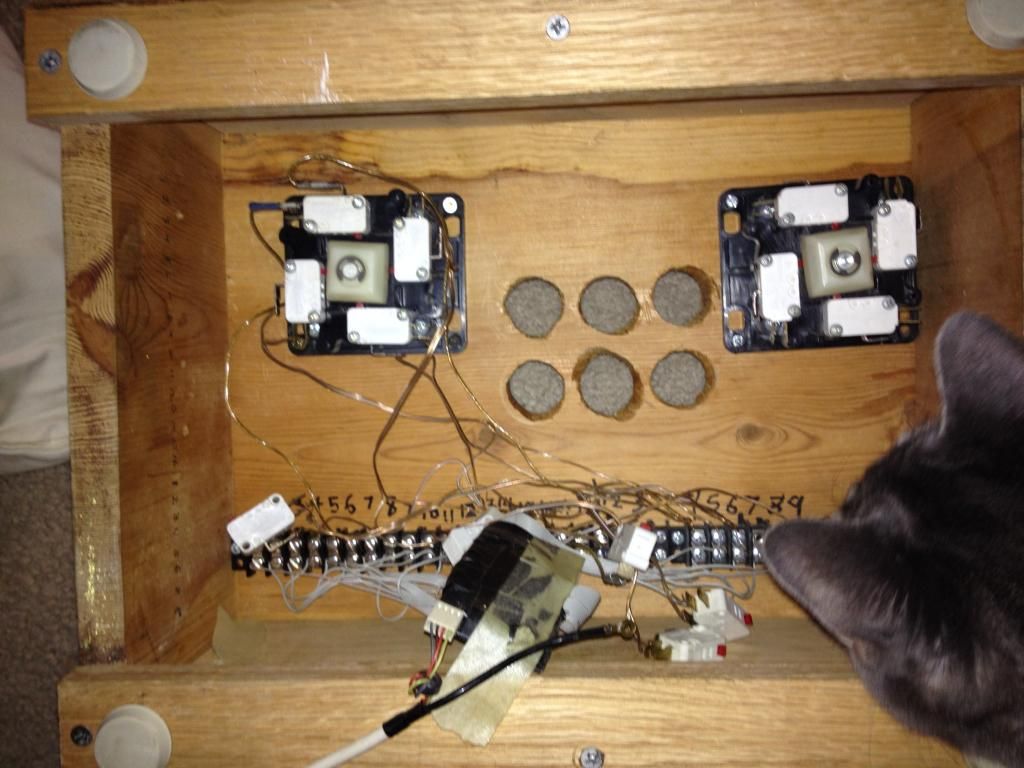Everything look good Smokey…. good lets move on.I drilled all my button holes, and the hole for the joystick. The buttons are too large and stick out the underside of the table a little. the small hole to the top left is so i can get to the power button and brightness of the monitor if needed. it is also where the power cable and vga cable will be fed through.>! 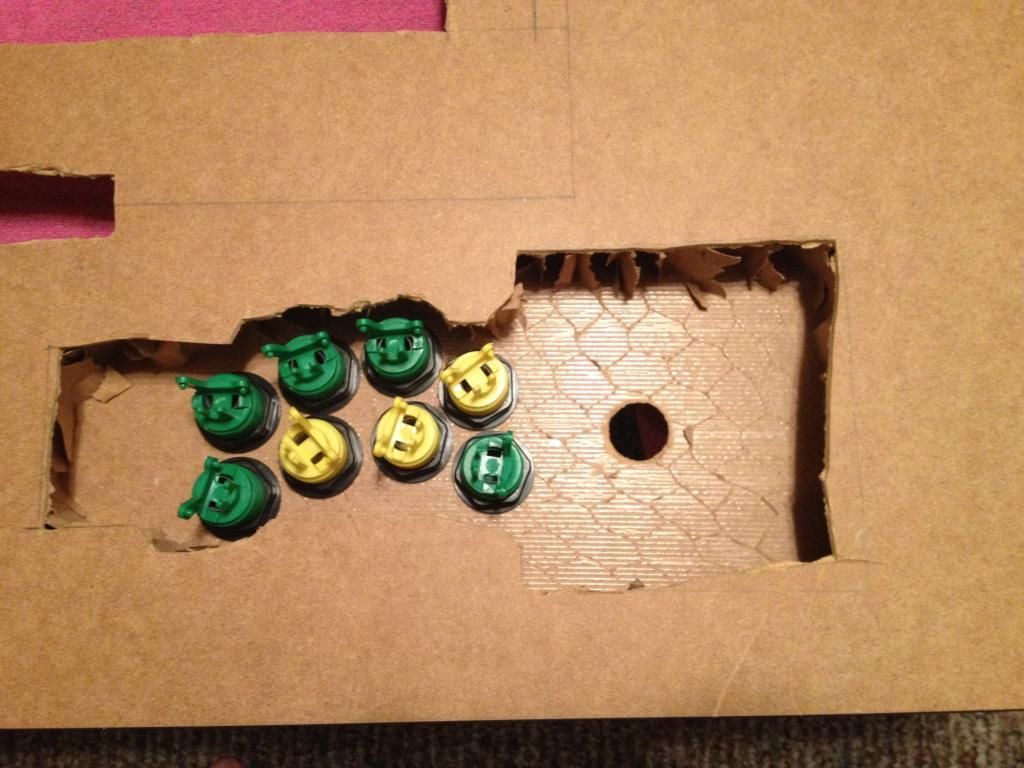Here you can see the entire panel. The thickness of the top of the table is really thin so i took a piece of plywood and glued it to the table, then i mounted the joystick to it. Make sure you get clamps that are deep and wide enough to hold down your board. the stupid clamps i got were too small! :( I had to use weights from a barbell to hold the wood down over night. I drilled button holes in the side of the table for player 1, player 2, and insert coin. I just drilled the hole for player 2.>! 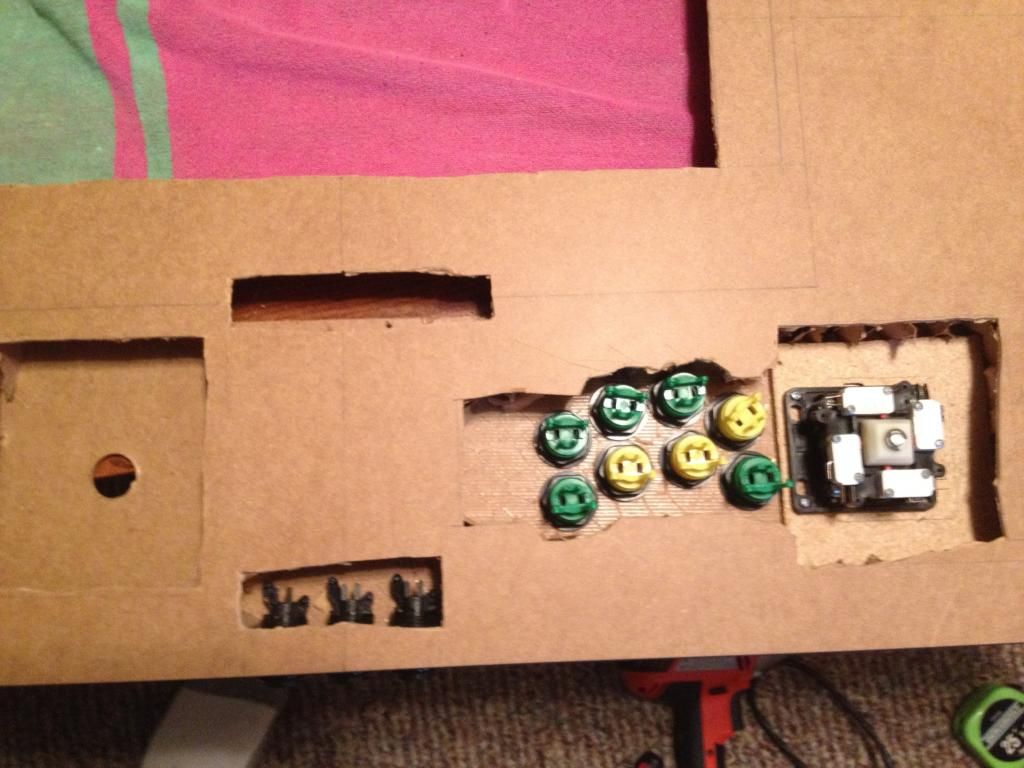Here is everything wired. I could have hacked a keyboard again, but since i want this to be a permanent nice piece I got an Ipac2\. The ipac is a keyboard encoder that does not cause ghosting. they have different sizes. The 2 allows for 2 players with 4 buttons each, and i think there are 4 extra buttons along with the start and coin buttons. There is an ipac 4 wich supports 4 players, and an ultimate pac or something like that wich has a few less buttons than the 4, but supports led lights. You can buy buttons that you can program for certian games that will light up. Eventually i want to have 4 player, so i might get the ultimate, but it was a little expensive for me right now. For the wiring, i stripped the casing off an ethernet cable, and use the wire inside. if you can find a solid copper wire ethernet cable that works really good. The braided ethernet cable is ok. I used blue for the joysticks, brown for the start/coin, orange for the buttons, green for ground. I think the different colors look nice, and will help with trouble shooting.>! 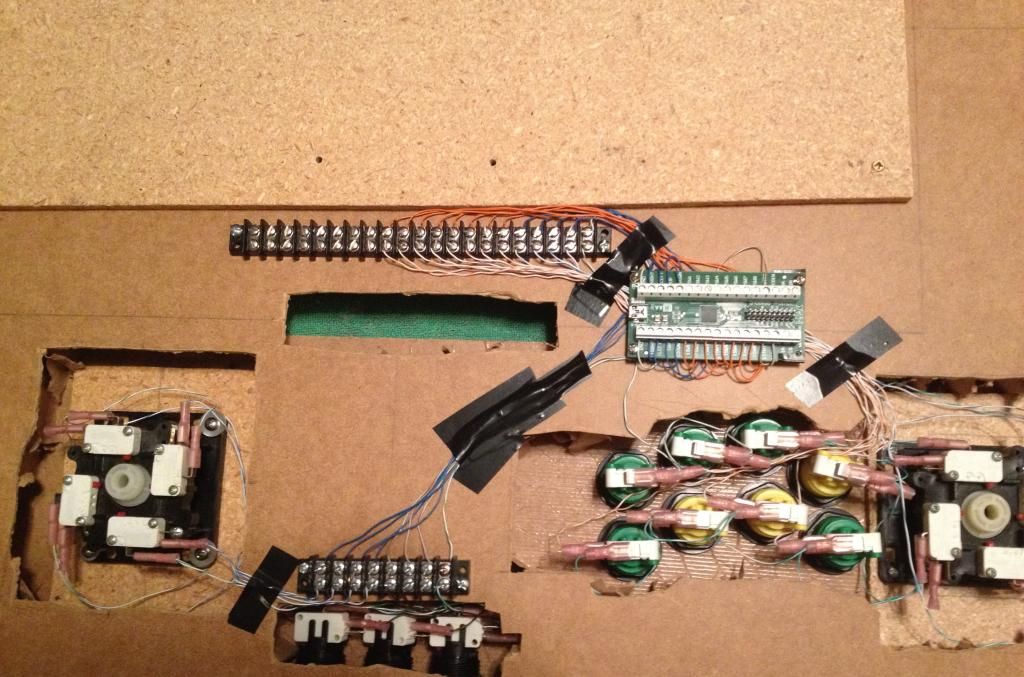you can get the ipac, joystics, and buttons here.[http://www.ultimarc.com/ipac1.html](http://www.ultimarc.com/ipac1.html)Here are the start buttons, and coin button.>! 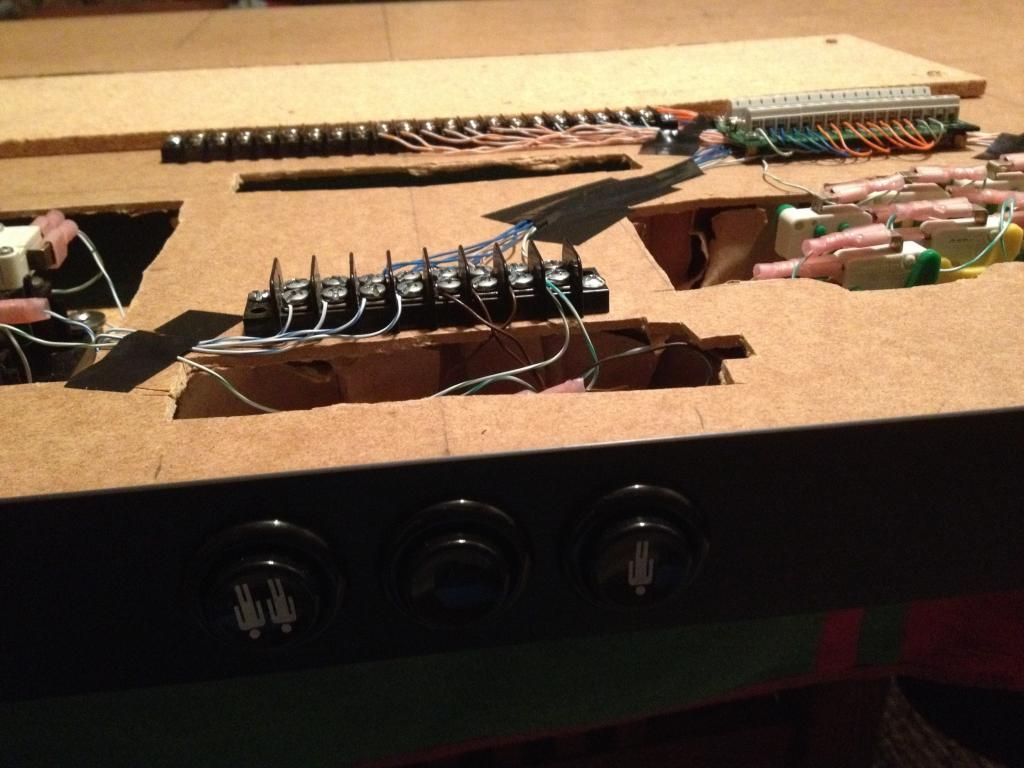Here is everything all wired. The board across the back is what i am using to mount the monitor to. Granted the monitor is just resting inside the table, but i wante it to be sturdy.>! 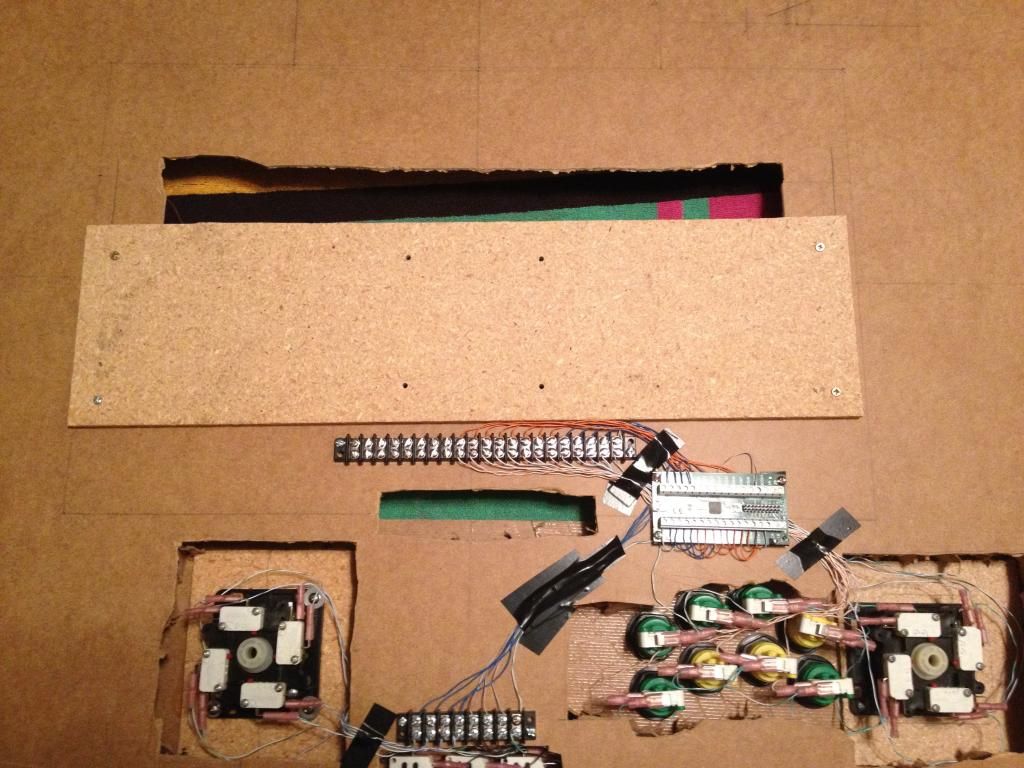I'm hoping to get the computer mounted tonight and get it all finished tonight. I'll post more pics when its done.If you have any questions on building one of these let me know. :wub: ^_^ Link to comment Share on other sites More sharing options...
Marsh Posted March 4, 2015 Share Posted March 4, 2015 Looks bad ass! Wish I had the skill to make something like this. Link to comment Share on other sites More sharing options...
PD Posted March 4, 2015 Share Posted March 4, 2015 Damn, I've always wanted to build an arcade table. Link to comment Share on other sites More sharing options...
Link Posted March 4, 2015 Share Posted March 4, 2015 Wow, that cat! Oh, the table is nice too. Link to comment Share on other sites More sharing options...
BeNjO Posted March 4, 2015 Share Posted March 4, 2015 [Gwendalin](http://www.eclipseorigins.com/community/index.php?/user/36963-gwendalin/), I love you're pussy, and the table! Link to comment Share on other sites More sharing options...
Colonello Posted March 4, 2015 Share Posted March 4, 2015 Wow this looks really cool so far. Link to comment Share on other sites More sharing options...
Gwen Posted April 15, 2015 Author Share Posted April 15, 2015 Here is all of my emulation.. They are all 100%, and i have Dreamcast, and PS1 on the way.There is no way i will ever scratch playing all of them… but they are like pokemon to me!I also have apple IIe and few other systems that I have not transferred over yet. Link to comment Share on other sites More sharing options...
Seb Posted April 15, 2015 Share Posted April 15, 2015 Nice Link to comment Share on other sites More sharing options...
GalacticGlum Posted April 16, 2015 Share Posted April 16, 2015 This is epic I made a arcade cabinet as well!I might post a couple of pictures or even a whole post when I have time!I agree with @[member="King Seb"] Link to comment Share on other sites More sharing options...
Anna Comnena Posted May 11, 2015 Share Posted May 11, 2015 You've always been too pro for me, girl. I'm jelly. :P :D Link to comment Share on other sites More sharing options...
Mal Posted May 11, 2015 Share Posted May 11, 2015 I dare you to find the few titles that were released for the N64DD. =O If you can pull that off.. I don't even know. All the cookies, at least! Link to comment Share on other sites More sharing options...
deathtaker26 Posted May 11, 2015 Share Posted May 11, 2015 > I dare you to find the few titles that were released for the N64DD. =O If you can pull that off.. I don't even know. All the cookies, at least!*installs Superman 64* Link to comment Share on other sites More sharing options...
Gwen Posted May 21, 2015 Author Share Posted May 21, 2015 Ok so my table is basically finished. I was going to put plexiglass over the top of the table, but then i decided I was going to build a stand up system instead. While the table is cool, it just didn't function as practical as i hoped. Unfortunately led monitors don't have a good display when laid flat. I turned the monitor upside down, and it helped a little.So here is what the mostly finished product looks like. All I need to do to fully finish the table is put the shelf on the bottom part of the table on, but i still access the components underneath so i have not put that on yet.Here is the underneath of the table. You can see the computer and hard drive case to the right side. the big black box in the top middle is the trackball. I took an old computer case and hack sawed the casing off of it so it was just the motherboard tray and side. I was planning on putting a different video card in, but this computer didnt have the slots i needed. I have a bunch of extra parts and components laying around so this was kind of Frankensteined together.>! 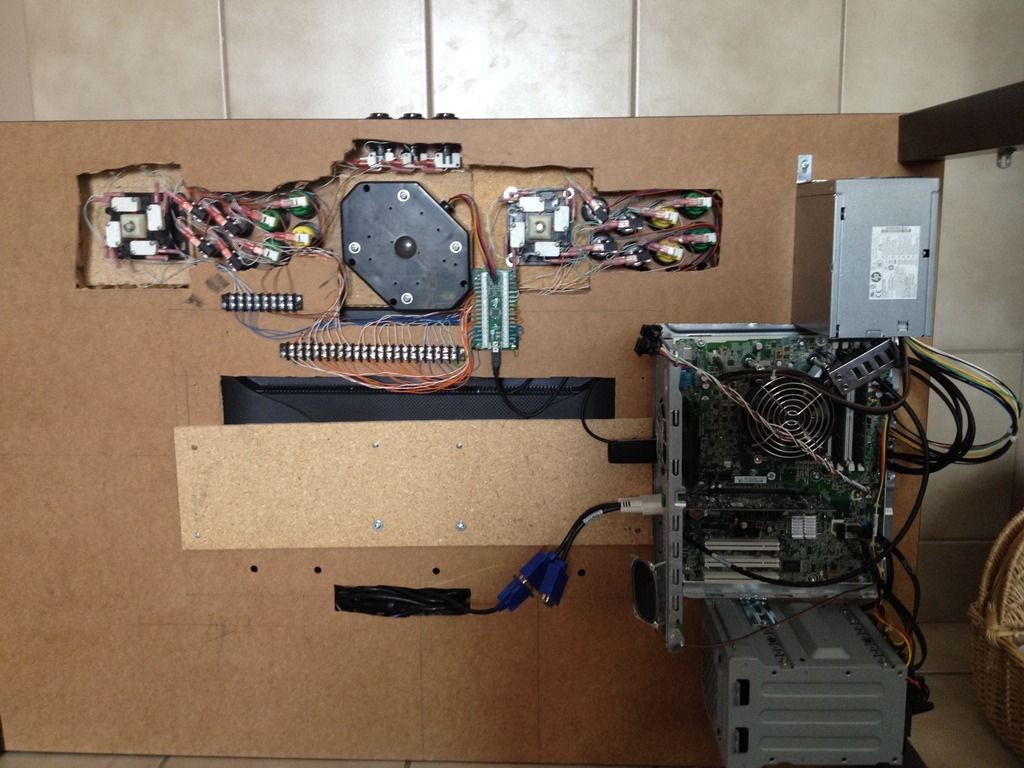Here is the hard drive bay i stole from another old computer. I have 1 2TB drive, 1 1TB drive for storage, and a 250 GB for the OS.>! 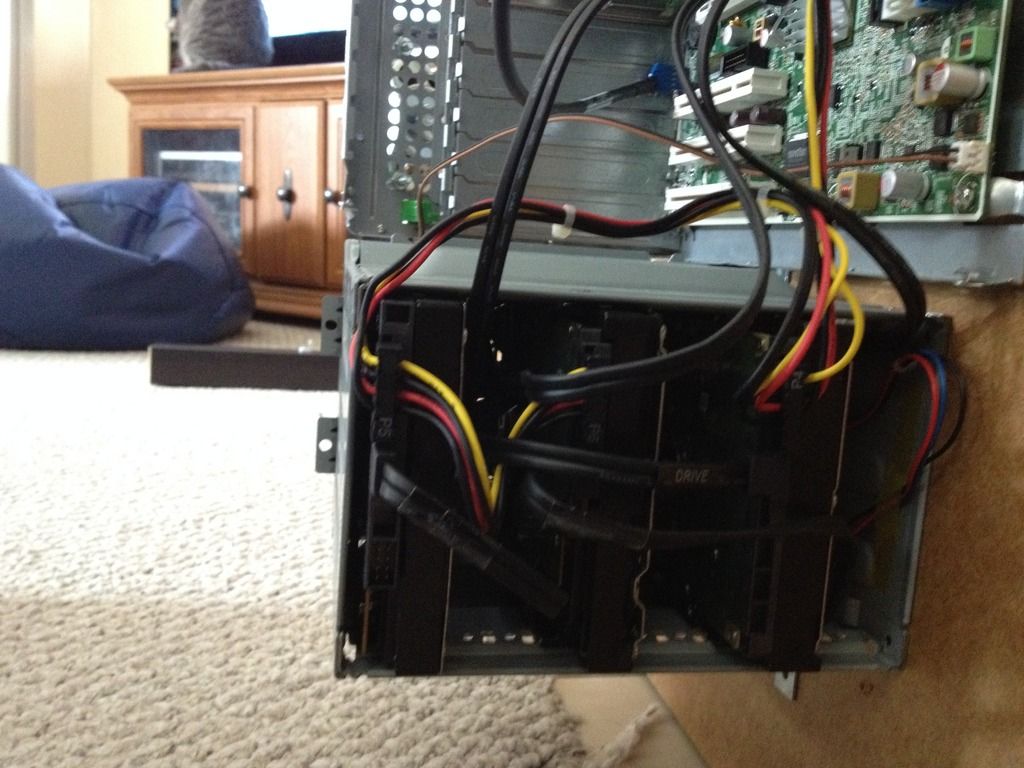Here is a close up of the wiring and trackball.>! 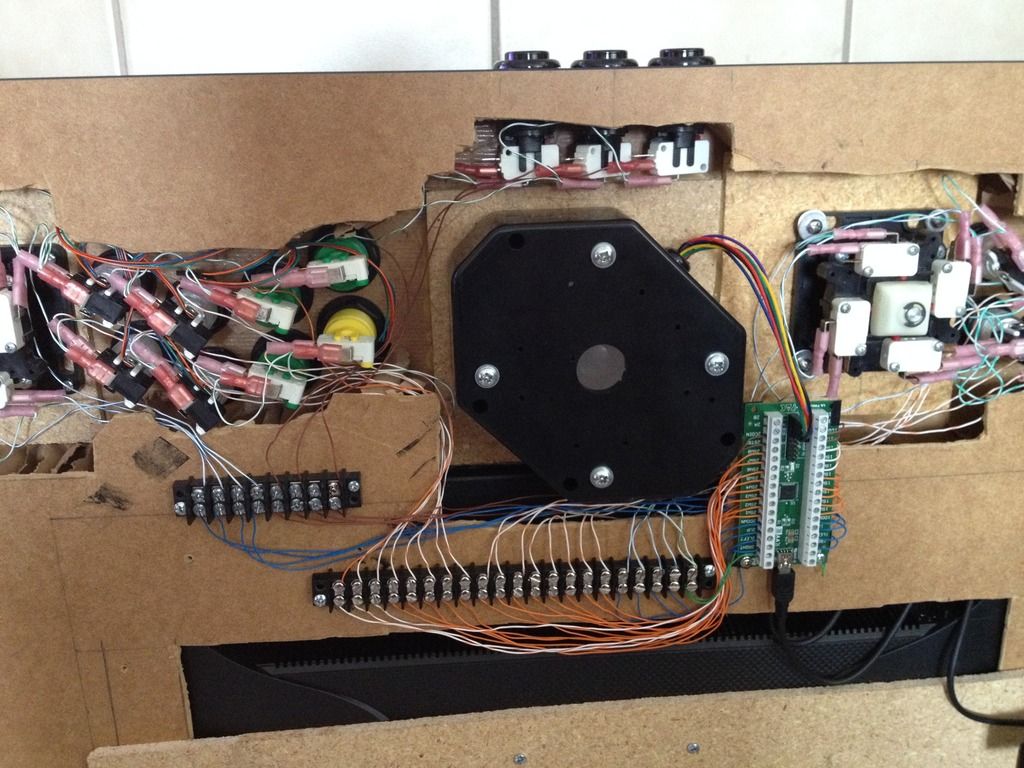I bought a trackball that can light up. Unfortunately I ran out of money to get the light for the trackball and buttons. Once i get the light, i can make the buttons and trackball light up any color i want. There is a cool program that you can run that does really cool effects for the lights. You can also set up the buttons to light which buttons are needed for that particular game.Here is the trackball without a light.>! 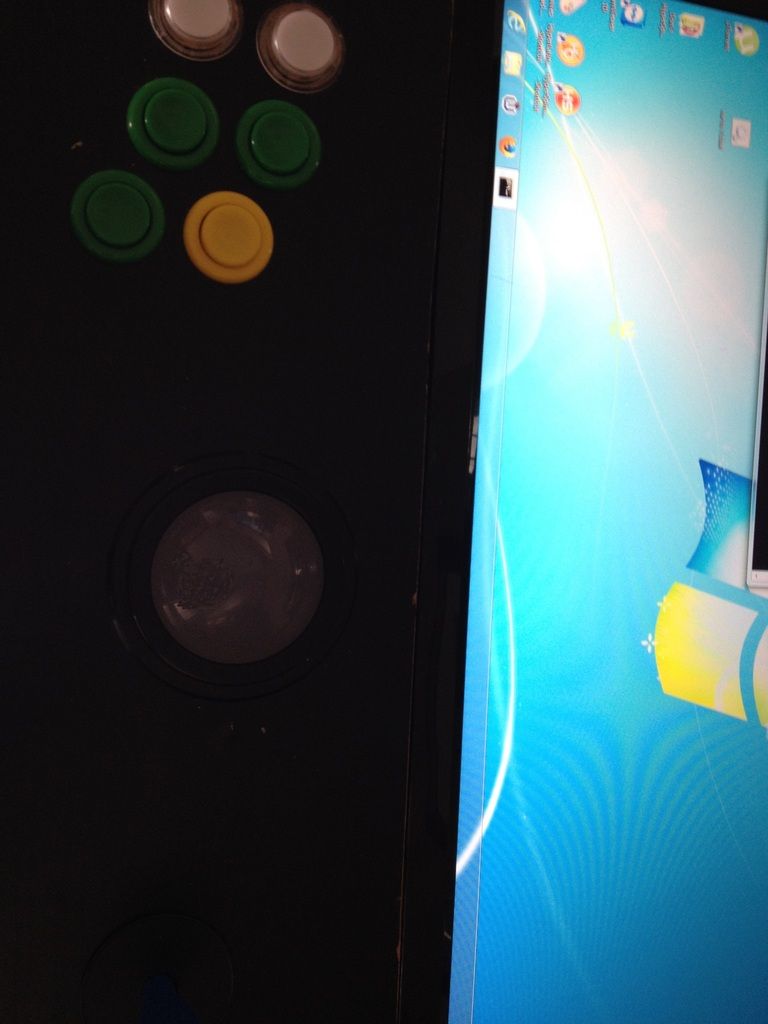Here is the trackball with a flashlight under it.>! 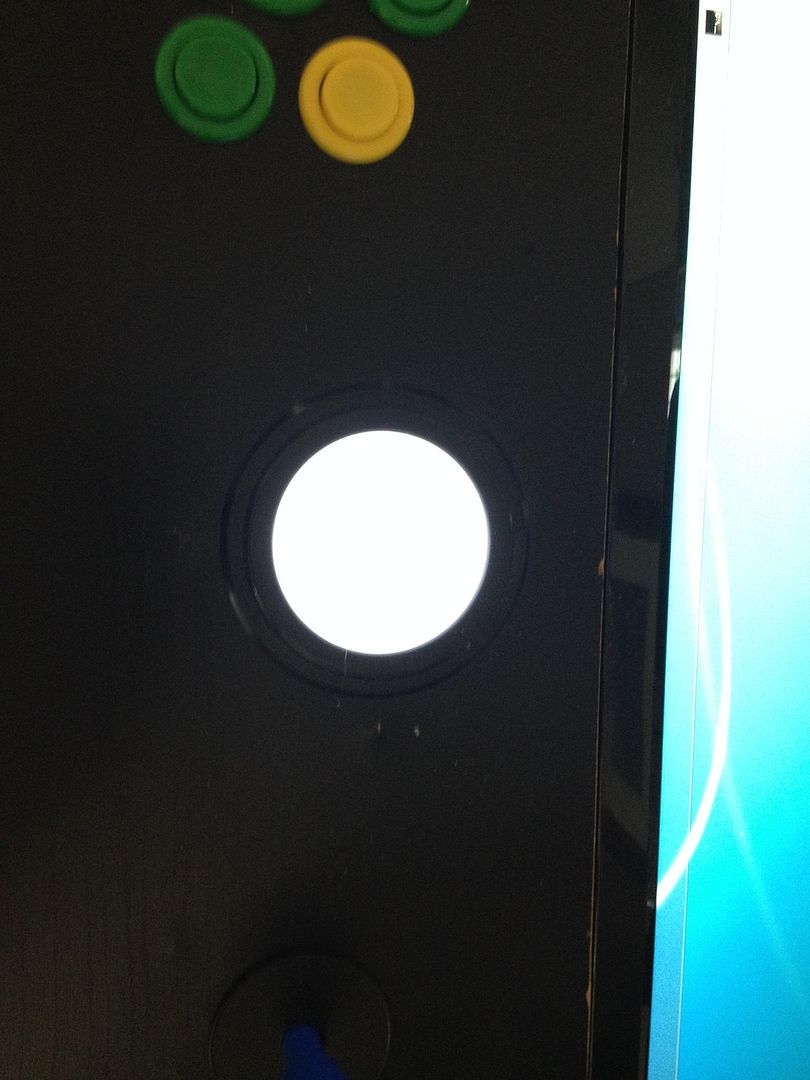Here is one of the buttons lit up.>! 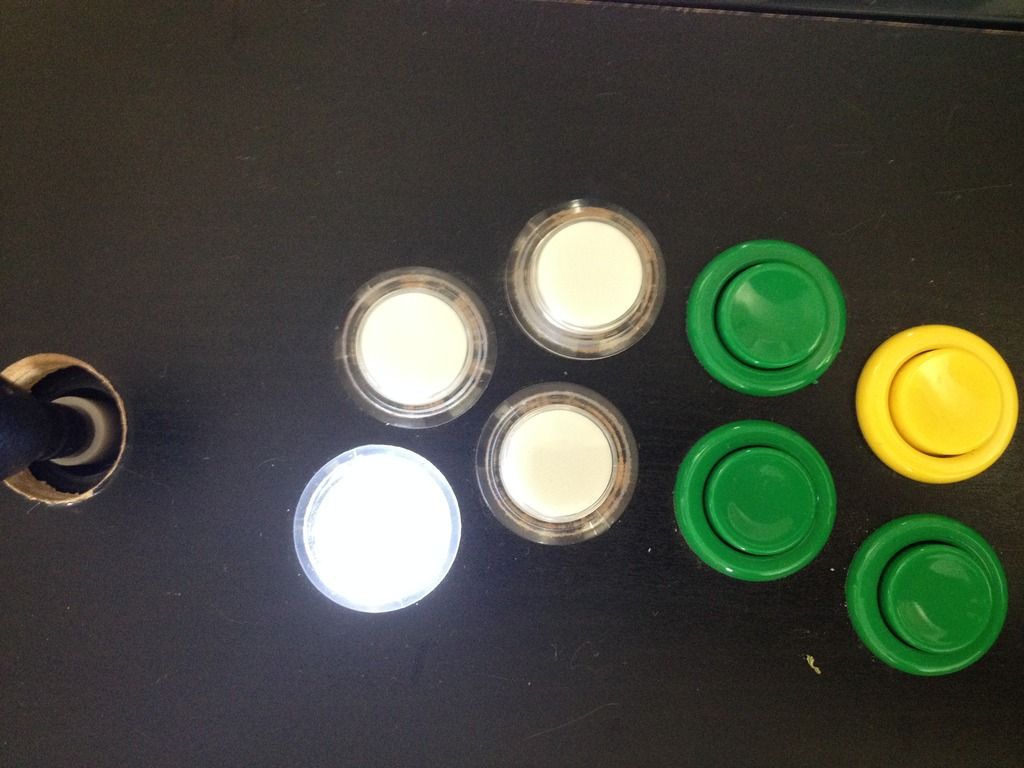Close up of the lit button.>! 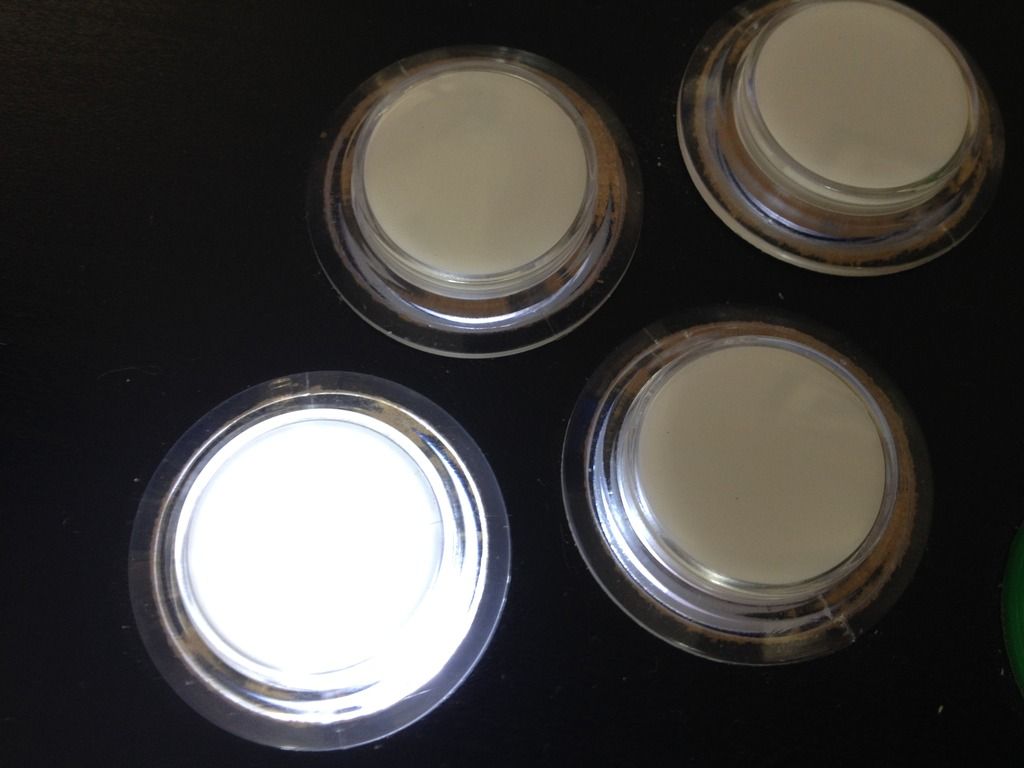Here is the table with the emulator launcher running. You can see some of the other emulators on the right hand side of the screen.>! 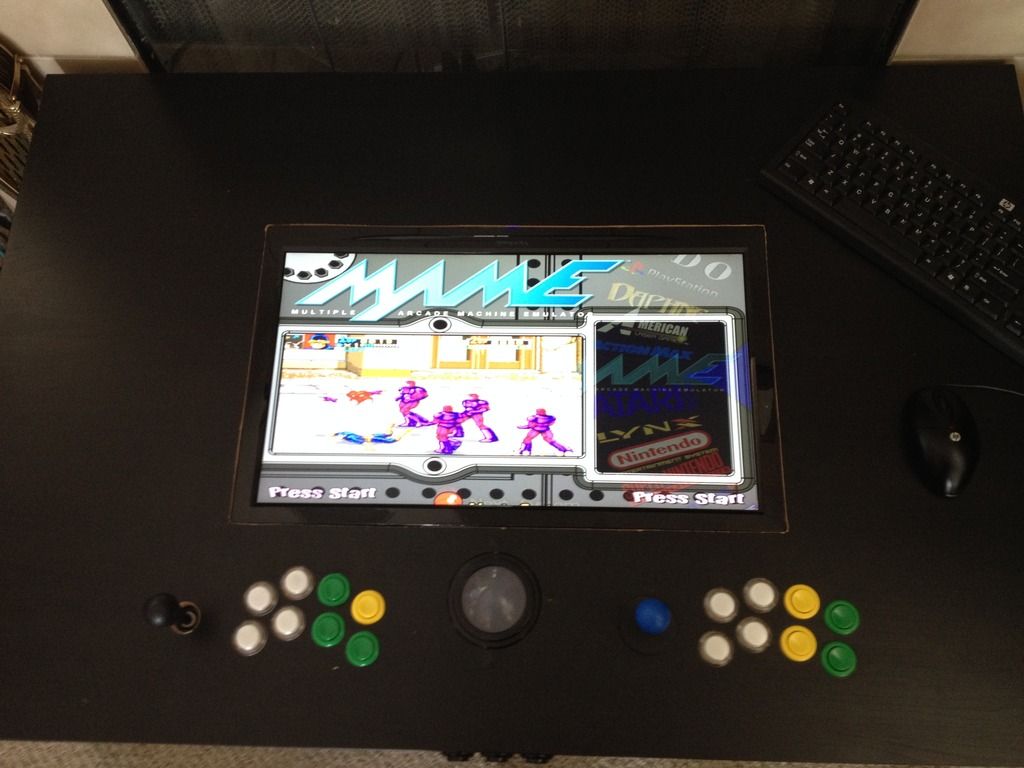A more zoomed out view.>! 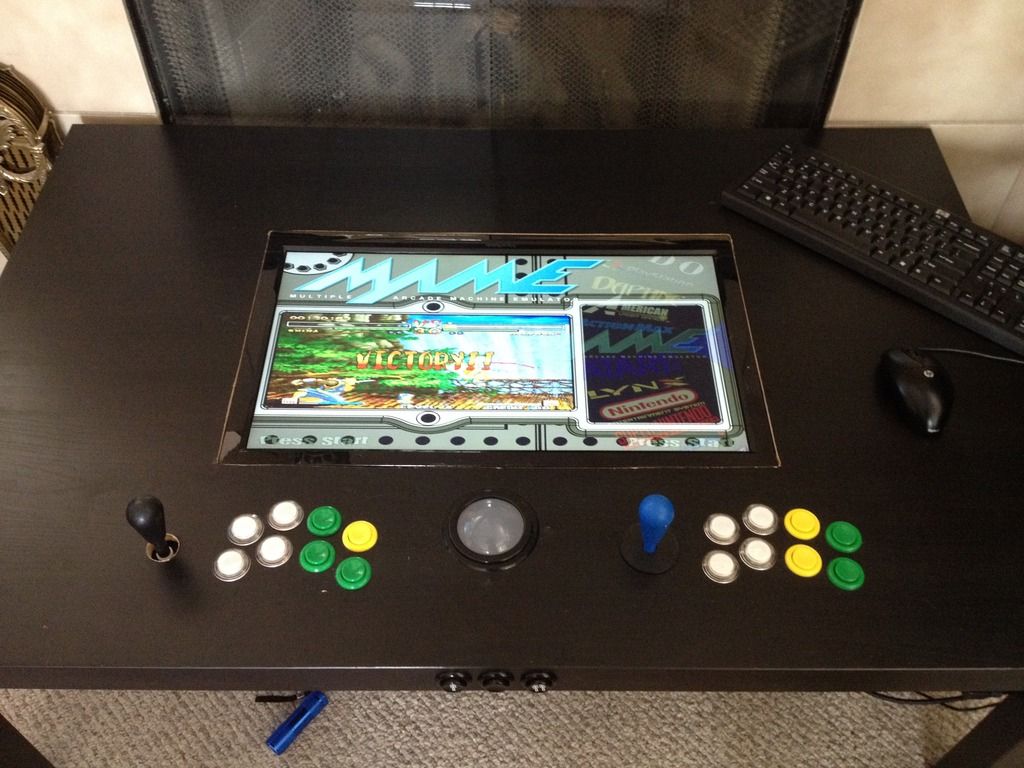@Bud you mean these? B) ;)I would show you them on my hd, but my computer went to sleep and i can't remote into it right now :(>! Unfortunately there isn't really an emulator that will play them right now, but they are getting close. Link to comment Share on other sites More sharing options...
deathtaker26 Posted May 21, 2015 Share Posted May 21, 2015 So bootyful. Link to comment Share on other sites More sharing options...
Recommended Posts
Create an account or sign in to comment
You need to be a member in order to leave a comment
Create an account
Sign up for a new account in our community. It's easy!
Register a new accountSign in
Already have an account? Sign in here.
Sign In Now